Beamng Drive Key Code

It can be very useful to have a working example as reference, such as the official
cannon vehicle.Starting on version 0.5, BeamNG.drive supports vehicle-specific bindings. These are special bindings that only apply to certain vehicle. For example, a binding to lift the arm of a crane; or a binding to shoot the ball in a cannon.
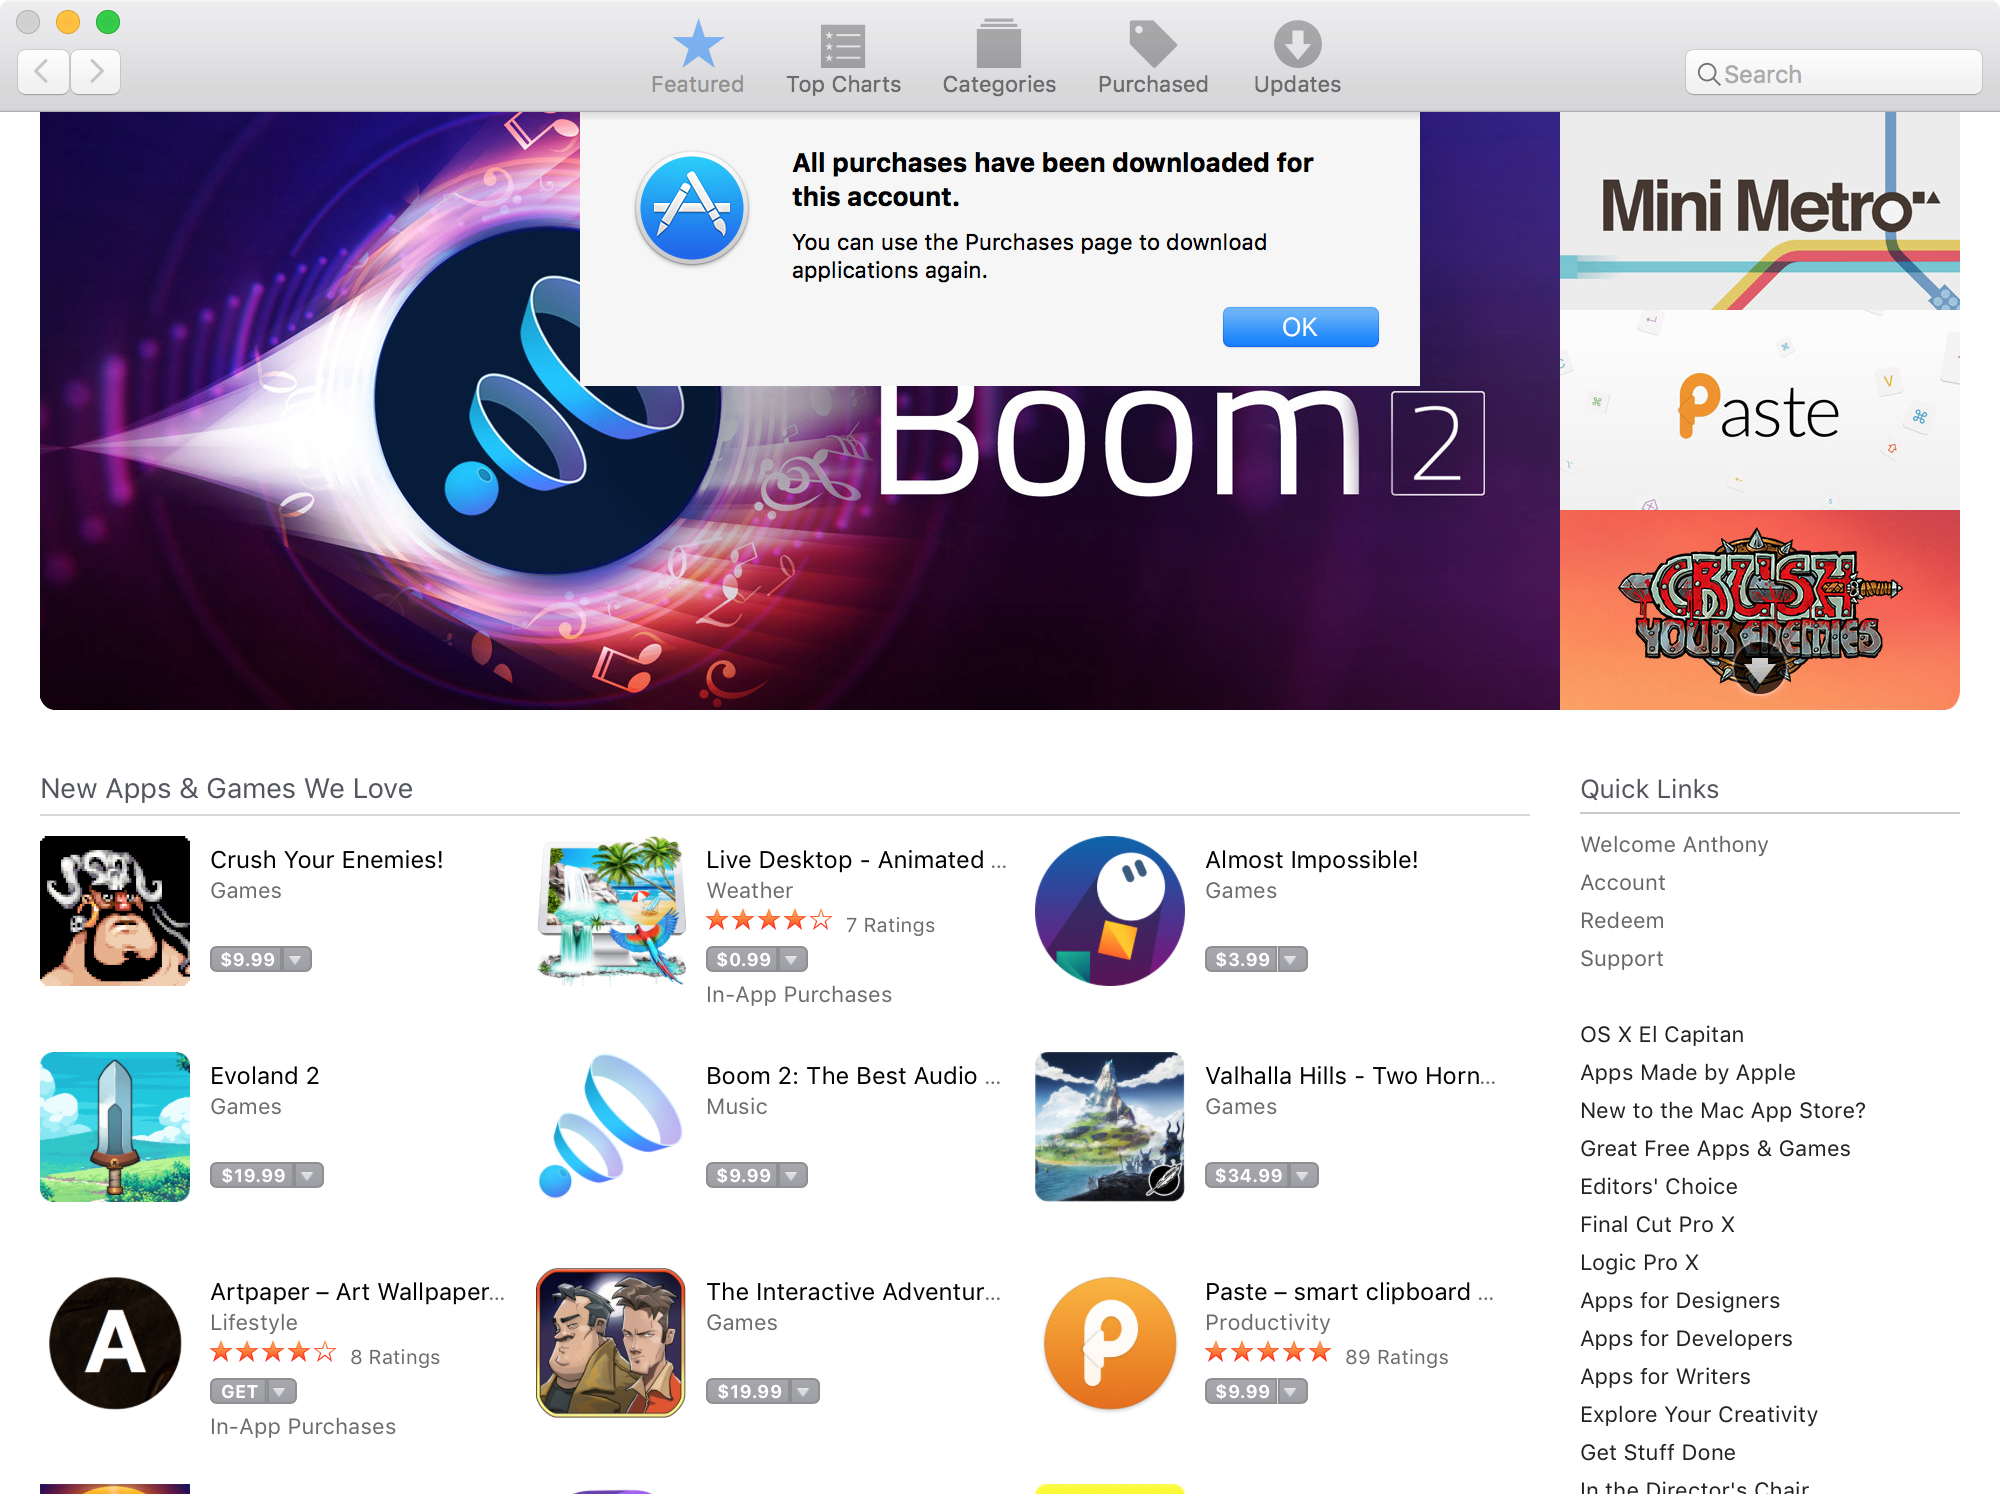
Back when they made the switch I received an email with my key. I'd recommend checking your email you originally purchased it with, and if you can't find it contacting the developers. This is a screenshot of the email: It was titled: Your BeamNG.drive Steam Key. BeamNG.drive is an open world vehicle simulator BeamNG.drive is an open world vehicle simulator which provides you with a huge amount of different vehicles – everything from a delivery mission in a big truck to a fast and full of adrenaline rally race or a type of events. BeamNG.drive Keygen is a free app for generating BeamNG.drive activation code, serial key, redeem code. BeamNG.drive Keygen is easy to use tool that even a five years old kid can generate key using this tool. You can generate unlimited cd keys codes for your PC, Steam or Origin game using this key generator. Beamng Drive Free Download. Apr 06, 2018 I want to find beta codes older versions of BeamNG.drive, ranging from the 0.5.2 update to the 0.6.1 update.
Vehicle specific bindings can be customized by regular users in the Controls > Bindings menu, just like normal bindings, without editing any file at all.

- 5Making the vehicle actually do stuff, aka onUp/onDown/onChange source code
- 5.2Advanced case
BINDINGS. HOW DO THEY WORK?

- First, the user presses a button or a key, or moves an axis.
- Then, the game engine checks if that hardware control was associated with one (or more!) actions.
- Finally, each of the associated actions (if any) is triggered: their defined source code is executed.
Actions are the things that occur after you have pressed a button. E.g.: switch_camera, brake, exit_game, shoot_cannon, etc.
There are many global actions, that apply regardless of the currently focused vehicle. You cannot modify them, but if you are curious, you can take a look at them by opening the file SteamApps/common/BeamNG.drive/lua/ge/input_actions.json.
Additionally, each vehicle can provide its own extra actions. These actions will be defined in vehicles/my_vehicle/input_actions.json.
It's a json dictionary, so it must start with { and end with }, like this:
Action names must be unique within the current vehicle (different vehicles can use the exact same action names, and they won't interfere with each other).
These are the possible action arguments:
| Name | Type | Optional | Default Value | Description |
|---|---|---|---|---|
| title | n/a | Very short name of the action, will be displayed in various game menues | ||
| desc | n/a | Full description, may be displayed as tool-tip, should be about one sentence long. | ||
| order | n/a | Can influence in which order actions are displayed on UI menues, with 1 coming first, and larger values (2, 3..) coming later. | ||
| isBasic | bool | true | Whether it is shown by default in the Controls > Binding menu (true) or user needs to check 'List advanced bindings too' (false) | |
| isCentered | bool | false | If false, the action will produce values in the range 0 to 1 (for example, it can be used for a brake pedal or handbrake). If true, generated values will be in the range of -1 to +1 (for example, it can be used for the steering, or for changing the camera height up and down). | |
| onChange | [**] | Source code that will be executed when the input value changes (when a key is pressed, lifted, or each time an axis is slightly moved). | ||
| onDown | [**] | Source code that will be executed when a button or a key have been pressed down[*]. | ||
| onUp | [**] | Source code that will be executed when a button or a key have been lifted up[*]. | ||
| ctx | 'vlua' | Where the code defined above will be run: 'ui' for javascript code 'ts' for torquescript The performance with this setup was also only 5 seconds behind three matching GeForce RTX 2080 Ti cards. So, the take home message here is don’t be afraid to mix cards!We’ll conclude with some pricing links!. Redshift 2.6.23 crack. 'tlua' for game engine lua 'vlua' for vehicle lua. |
[*]onUp and onDown code cannot be triggered by axes, only by buttons and keyboard keys. Using onChange is recommended, if possible.
[**] At least one of these must be defined. More on this later, don't worry about what to use just now.
To add a new action, insert a new line, such as this:
If you are modifying an existing vehicle that already has vehicle-specific actions defined, then starting at version 0.7.0.0 you can add extra actions (rather than replacing vehicles/my_vehicle/input_actions.json).
Just create new files named input_actions*.json in that same directory. For example: input_actions_my_mod.json.
All json files matching that filaname pattern will be read, allowing you to add any new actions you may need.
Now that we have the vehicle-specific input_actions.json file, you can create new bindings through the usual Controls > Bindings menu.This will generate inputmap files in the Documents/beamng.drive/settings/inputmaps/your_vehicle_name/ directory.
When you are happy with your set of default bindings, you can rename the files from *.diff to *.json, and move them inside vehicle/your_vehicle_name/inputmaps/.

Vehicle-specific bindings will automatically appear on the top-right of the window after you load a level. This way, users can easily know how to use your vehicle specific bindings.
Note: after the initial release of your mod, for example in your second version of the mod, you can add more actions if you wish, and also add more default bindings. BeamNG.drive will make sure these new default bindings are available to all users, even if they have customized the bindings in the past.
Important: if you do not provide some default binding files, the user won't be able to use your vehicle-specific functionality until he manually puts the effort to create the necessary bindings. Please, always provide default bindings, users will be thankful. Well, or at least they won't be so confused about how to use your mod.
So far, we have defined some default bindings, and added some lines to the vehicle input_actions.json file, but all of the onChange/onUp/onDown arguments are empty, so we will fix that now.
Simple case
The simplest case is using a thruster or a hydro. These elements can easily react to values travelling through the electric bus of the vehicle, so we will just write some LUA code that writes to this electrics bus.

Let's learn by example:If you have this inside input_actions.json:
Beamng Drive Key Code Pics
Then you can make a hydro or a thruster react to it, like this:
Beamng Drive Activation Key Free
- Inside the Hydros section of a .jbeam file:
- Or inside the Thrusters section of a .jbeam file:
Check the cannon vehicle for a working example of a thruster.
Advanced case
You can have complete control over what happens, if you are willing to write custom LUA code.
Action LUA code
You can write values to the electrics bus, but you can also do more advanced stuff if you want.
All of the onChange/onUp/onDown lua code can include some special symbols, that will be automatically replaced by the bindings system. You can write them in any order, any number of times. They are:
VALUE: will replaced with1in onDown,0in onUp, float values from0to1in onChange when isCentered argument is false, and float values from-1to1in onChange when isCentered argument is true.FILTERTYPE: corresponds to the 'Filter' option in the binding editor menu, and will be replaced by0for Key filter,1for Pad filter, and2for Direct filter.
PLAYER: if you are using an action argumentctxdifferent than the default'vlua'(such as'ts'), this may be useful to direct actions at the vehicle of certain player when playing inmultiseatmode. If the binding was triggered by the first player, it will be replaced by0, second player with1, third with2, etc.
Basic example:
Advanced fictional example, which makes no sense at all (it's only intended to show you the theoretical possibilities):
Custom LUA files
If your needs are complex enough, you may want to bundle some custom .lua file in your vehicle mod, for example:
These files can include some functions that will be called back by the game engine:
Beamng Drive Steam
They can also export any functions you want to be used by your custom input_actions.json code. For example a file named vehicles/my_vehicle/lua/custom_lua_file.lua:
The action's code can then call those exported functions, for example onChange: 'custom_lua_file.setTurboLimit(30 * VALUE)'
Including a working example would involve attaching various files, that may end up out of date. It is better to take the existing cannon vehicle, which is bundled with BeamNG.drive, tested on each relase and is pretty simple, so serves as a very good starting point.
You will find this vehicle in SteamAppscommonBeamNG.drivecontentvehiclescannon.zip, unzip to a temporary directory and take a look at the various files and directories mentioned throughout this guide.
If you have any comments or questions, please make sure to let me know in the feedback thread, here:http://www.beamng.com/threads/guide-to-vehicle-specific-bindings-feedback-thread.26335
| Vehicle Creation | |||||||||||||||
|---|---|---|---|---|---|---|---|---|---|---|---|---|---|---|---|
| Get started: Introduction to Vehicle Creation | |||||||||||||||
| |||||||||||||||
| See also: JBeam Examples • JBeam Physics Theory |